
Why Is My Blender Jar Leaking From the Bottom?
Find the cause of a blender jar leaking underneath by checking the gasket, blade assembly, shaft seal, jar cracks, incorrect reassembly, and overflow from above.
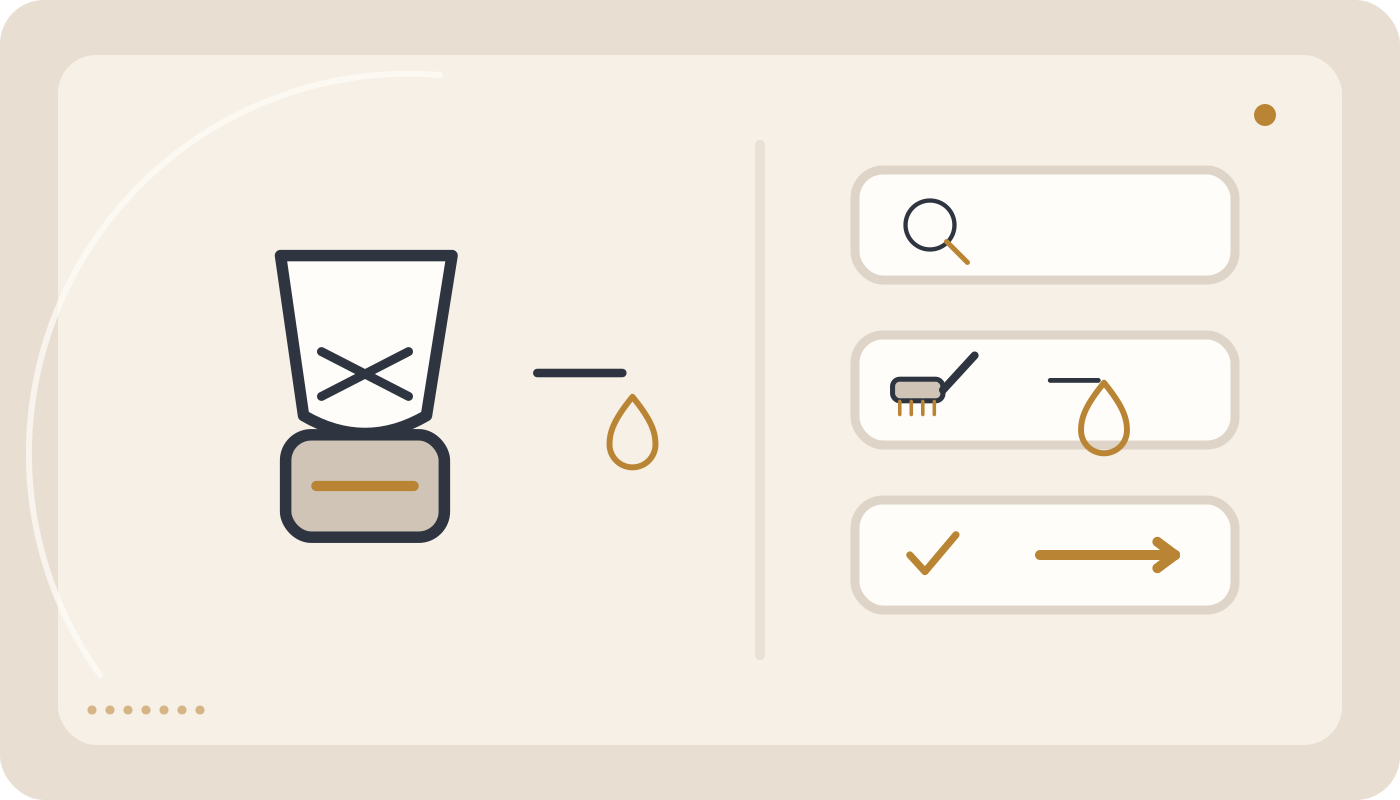
Switch off and unplug the blender, dry the jar, and determine whether liquid comes from the gasket/blade assembly or has run down from the lid. A displaced or damaged gasket and an incorrectly fitted blade assembly should be corrected or replaced according to the manual. If liquid entered the motor base, do not power the blender again.
Where should you start?
Why Is My Blender Jar Leaking From the Bottom?
A blender jar that leaks underneath usually has a problem involving the blade-assembly gasket or seal, incorrect blade-base installation, a crack near the bottom of the jar, worn components, or liquid that actually overflowed from the top and ran down the outside. The first task is to identify where the liquid begins; a wet jar base does not automatically prove that the blade gasket has failed.
Quick answer: Switch the blender off, unplug it, remove the jar from the motor base, and dry everything. Determine whether liquid originates at the blade/gasket area or has run down from the lid. If the gasket is displaced, twisted, cracked, or the blade assembly is incorrectly fitted, reinstall or replace it only according to the manual with a compatible part. If liquid has entered the motor base, do not power the blender again until it has been assessed.
Identify the real leak source first
| Where liquid appears | Possible causes | First check |
|---|---|---|
| Around blade assembly | Gasket, blade-base installation, crack | Seal and component order |
| Under jar near side wall | Hairline jar crack | Dry and inspect body |
| Liquid trail from top | Overfill, lid, foaming | MAX line and lid fit |
| Around blade shaft | Internal shaft seal/bearing | Blade assembly condition |
| On coupling/motor base | Continuing jar leak | Do not repower until assessed |
1. The gasket is not seated correctly
After cleaning, the gasket may be twisted, folded, or partly outside its groove. A small displacement can create a leak path.
2. The gasket is worn
Drying, cracking, permanent deformation, or loss of elasticity can weaken the seal. Replace it with the correct part for the exact model.
3. The gasket is installed in the wrong position
On removable blade assemblies, component order matters. An incorrectly positioned gasket can cause leakage and friction.
4. The blade assembly is loose
If the blade base or retaining ring is not properly engaged, it may not apply even sealing pressure.
5. The blade assembly is overtightened
Excessive tightening can crush the gasket or damage threads and the jar. Follow the manufacturer’s specified assembly method.
6. The threads are cross-threaded
A cross-threaded base can appear attached while leaving the sealing surfaces misaligned.
7. There is a hairline crack at the jar bottom
Fine cracks may open only when the jar contains liquid or is exposed to vibration.
8. The jar has suffered an impact
Dropping the jar or striking it against a sink can damage the lower body or blade-mounting area.
9. Liquid overflowed from the lid
Liquid can escape from the top, run down the wall, and collect underneath. Trace the liquid before dismantling the blade assembly.
10. The jar was filled above MAX
Excess volume, especially foaming mixtures, can escape through the lid or vent and imitate a bottom leak.
11. Hot ingredients created pressure
Hot liquid in a closed jar can create steam and pressure. Blend hot ingredients only when explicitly permitted by the manufacturer.
12. Excess foam developed
Milk, residual detergent, or certain ingredients can foam and increase effective volume.
13. The blade-shaft seal is worn
If liquid emerges directly around the blade shaft, the internal seal may be worn. On many designs, replacing the complete blade assembly is more reliable than improvised seal repair.
14. The blade shaft has abnormal play
Excessive axial or lateral movement can disturb shaft sealing and may occur with mechanical noise.
15. The blade bearing is damaged
Grinding noise, difficult rotation, or shaft leakage can indicate a bearing/seal problem.
16. A hard object struck the blade
Pits, bones, metal objects, or ingredients outside the appliance capability can damage the shaft or blade assembly.
17. Parts from another model were used
Visual similarity is not enough. Small differences in gasket diameter or thickness can prevent proper sealing.
18. Components were not fully reassembled after washing
If the blade base is removable, preserve the exact assembly order after every cleaning.
19. Food debris is trapped on the sealing surface
Seeds, fibers, or dried residue can prevent full gasket contact. Clean the surfaces without abrasive tools.
20. The sealing surface is scratched or distorted
A deep scratch or warped contact surface can leak even with a healthy gasket.
A simple leak-source test
Remove the jar from the motor base, dry the exterior completely, and place it on a dry visible surface. Add a small amount of cold water below the MAX line and, without running the motor, watch for the location of the first drop. If the manufacturer prohibits this procedure, follow the manual instead.
No leak while stationary, but it leaks during blending
Vibration, internal pressure, foaming, or movement in the blade assembly can reveal a leak only during operation. Stop using the blender until the connection and blade assembly are checked.
It leaks only with thin liquids
Water and other low-viscosity liquids can pass through very small gaps and expose an early seal weakness.
It leaks only with hot liquids
Thermal expansion, steam pressure, or jar temperature limits may be involved. Use hot blending only within explicit manufacturer limits.
The leak started after cleaning
Check the order and seating of the gasket, blade assembly, and retaining components first. A missing, inverted, or twisted gasket is a common post-cleaning cause.
Can I seal the gasket with glue?
No. General-purpose adhesive, unknown silicone, or PTFE tape is not a standard repair for a food-contact rotating assembly. Use the correct food-contact-compatible replacement component.
Should I lubricate the gasket?
Only if the manufacturer explicitly specifies a material and method. Cooking oil or general lubricant may damage elastomers or contaminate food-contact surfaces.
Can I tighten the blade base harder to stop the leak?
No. Overtightening can damage the gasket, threads, or jar. Assemble it as designed for the model.
Why is liquid in the motor base serious?
Liquid can reach the coupling, bearings, control board, or energized components. If the motor base is wet or liquid entered its openings, do not plug the appliance back in.
What if there are only a few drops?
Do not ignore a small recurring leak. A minor seal failure can worsen and eventually allow liquid into the motor base.
Step-by-step inspection
- Switch off and unplug the blender.
- Remove the jar from the motor base.
- Dry the jar and the surface underneath.
- Check whether liquid has run down from the top.
- Confirm the load was below the MAX line.
- On removable assemblies, verify gasket and blade-base order using the manual.
- Inspect the gasket for cracks, flattening, and deformation.
- Inspect the jar bottom and threads for cracks or cross-threading.
- Use a small amount of cold water, without the motor, to locate the first drop where permitted.
- Replace or service the affected component if the leak comes from the shaft, cracked jar, or blade assembly.
Which parts are commonly involved?
Depending on design: jar gasket, blade assembly, shaft seal, retaining ring, bearing, jar base, and the jar itself. Match the exact model number before ordering parts.
10 common mistakes
- Assuming any liquid underneath means the blade gasket failed.
- Continuing to blend with a small leak.
- Overtightening the blade assembly.
- Using a similar-looking gasket from another model.
- Applying unknown glue or silicone.
- Installing a twisted gasket.
- Filling above MAX.
- Blending hot liquid in a model not approved for it.
- Repowering a motor base that has taken in liquid.
- Ignoring bearing noise or blade-shaft play together with leakage.
When should the jar be replaced?
A crack in the bottom or wall, damage around the blade mounting area, broken threads, or a distorted sealing surface are strong reasons to replace the jar. Gluing a crack in a vibrating food-contact vessel is not recommended.
When should the blade assembly be replaced?
Shaft leakage, abnormal play, bearing noise, difficult rotation, or blade damage can justify replacement. Use a component specifically compatible with the model.
When is service appropriate?
If liquid has entered the motor base, the coupling is contaminated or damaged, shaft leakage continues, or the source cannot be diagnosed without opening technical components, service assessment is appropriate. Do not open the motor or electrical housing for home testing.
Conclusion
For a leak under the blender jar, first determine whether liquid truly originates from the gasket and blade assembly or has run down from above. Correct gasket installation, respecting MAX, checking the jar for cracks, and assessing the blade shaft are the key steps. If liquid reaches the motor base or the leak comes from the shaft/blade assembly, continued use can cause further damage.
Common mistakes
Change only one variable at a time while diagnosing.
- Do not assume every wet jar base means gasket failure.
- Do not keep blending with a small leak.
- Do not overtighten the blade assembly.
- Do not use a gasket from another model.
- Do not use unknown glue or silicone.
- Do not install a twisted gasket.
- Do not fill above MAX.
- Do not blend hot liquid in an unapproved model.
- Do not repower a wet motor base.
- Do not ignore shaft play or bearing noise.
Frequently asked questions
Why is my blender leaking from the bottom?
A displaced or worn gasket, incorrectly fitted blade assembly, cracked jar, or shaft-seal leak are common causes.
How can I tell whether the gasket is leaking?
Dry the jar and, where permitted, use a small amount of cold water without the motor to locate the first drop; also rule out liquid running down from the lid.
Can I glue a blender gasket?
No. Use the correct food-contact-compatible replacement part.
Why did the leak start after cleaning?
The gasket or blade assembly may have been reinstalled in the wrong order or orientation.
What if water entered the motor base?
Keep the appliance unplugged and do not power it again until it has been assessed.
When should the jar be replaced?
Replace it for cracks, damaged blade-mounting areas, broken threads, or a distorted sealing surface.
Related guides and products
Still having the problem?
If safe user-level checks do not solve the issue, do not open the appliance. Submit a service request for technical inspection.