Bread and Pizza Dough with a Stand Mixer: From Mixing to Resting
For reliable bread and pizza dough, start slowly, adjust water in small steps, knead with the dough hook until elastic, then cover and rest the dough appropriately.
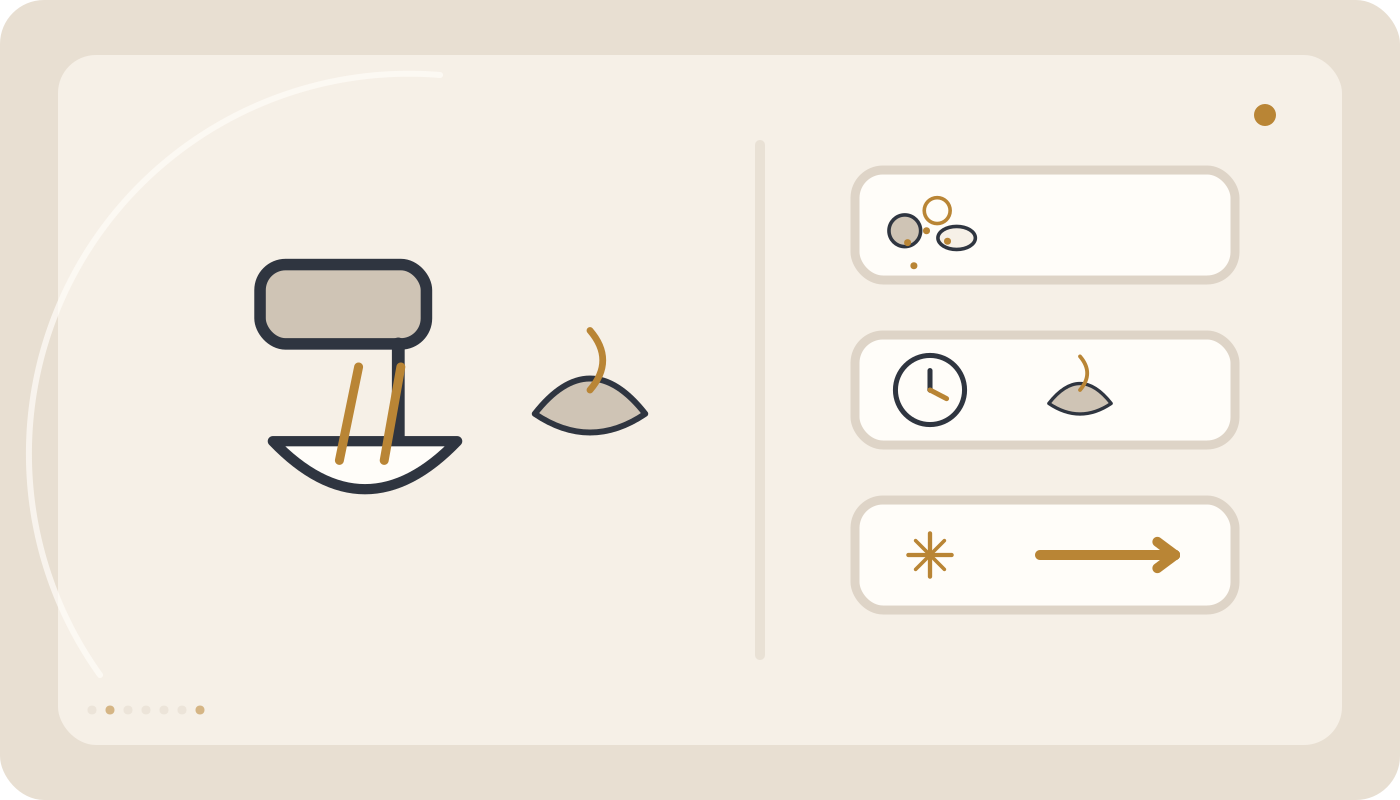
Mix flour, yeast, and most of the water at low speed until a rough dough forms. Add salt and oil according to the recipe, then knead with the dough hook at low speed. Adjust water or flour only in small increments. Stop once the dough looks smoother and more elastic and a small piece can stretch thin without tearing immediately. Transfer to a lightly oiled covered container and let it rise appropriately.
Before you start
Bread and Pizza Dough with a Stand Mixer: From Mixing to Resting
A stand mixer can make bread and pizza dough much more consistent, but good dough is not created by simply kneading for as long as possible. Ingredient order, water level, mixer speed, bowl capacity, stopping at the right point, and adequate resting determine whether the dough becomes smooth and elastic or stiff, sticky, and overheated.
Quick answer: Start by mixing flour, yeast, and most of the water at low speed until a rough dough forms. Add salt according to the recipe, then knead with the dough hook at low to moderately low speed. Stop when the dough pulls away from much of the bowl, looks smoother and more elastic, and a small piece can stretch thin without immediately tearing. Transfer to a lightly oiled covered container and allow it to rise appropriately.
Basic formula for a simple dough
| Ingredient | Approximate amount | Purpose |
|---|---|---|
| Flour | 3 cups | Dough structure |
| Water | About 1 cup plus a little more as needed | Hydration |
| Dry yeast | 1 teaspoon | Fermentation and rise |
| Salt | 1 teaspoon | Flavor and structure control |
| Oil | 1 tablespoon | Optional softness |
This is only a general starting formula. Flour absorption, dough style, and the exact recipe can change both liquid quantity and kneading time.
1. Check mixer capacity first
Heavy dough loads the motor much more than cake batter and should stay within the appliance’s dough capacity.
2. Use the dough hook
The dough hook is designed for bread and pizza dough.
3. A flat beater may be useful only for selected initial mixing
If the recipe and appliance allow it, a flat beater can briefly combine ingredients before switching to the dough hook.
4. A wire whisk is not appropriate for heavy dough
It is designed for light mixtures and aeration.
5. Measure ingredients accurately
A few extra spoonfuls of water or flour can significantly change dough texture.
6. Different flours absorb different amounts of water
Reserve some water for final adjustment.
7. Do not add all the water immediately
Hold back a small portion and add it only if needed.
8. Avoid very hot liquid with yeast
Use liquid appropriate to the yeast and recipe instructions.
9. Use yeast according to its type
Some dry yeasts can mix directly with flour, while others are activated separately.
10. Check yeast freshness and storage
Weak yeast can cause poor rise even when kneading is correct.
11. Add flour and yeast to the bowl
This is a practical start for many simple doughs.
12. Add most of the water
Pour gradually to reduce flour spray.
13. Start at the lowest speed
The goal is only to hydrate flour and form a rough dough.
14. If flour sprays out, the speed is too high
Stop and restart more slowly.
15. Do not leave dry flour at the bowl bottom
After complete stop, scrape dry material toward the center.
16. Add salt according to the recipe sequence
For a simple method, salt can be added after the first rough dough forms.
17. Avoid dumping concentrated salt directly onto activated yeast
Distribute ingredients according to the recipe.
18. Add oil after initial dough formation
This lets flour hydrate first.
19. Increase speed only slightly after the dough forms
Most household stand mixers use low ranges for dough; the exact manual takes priority.
20. High speed is not appropriate for heavy dough
It can overheat dough and increase motor and drivetrain load.
21. Rough sticky dough is normal at first
Do not immediately add large amounts of flour.
22. Give flour time to absorb water
Some doughs become more manageable after a short rest.
23. A brief initial rest can be useful
When the recipe allows it, pause after initial flour-and-water mixing.
24. Resume kneading after the rest
The dough often gathers more easily afterward.
25. Add extra flour cautiously
A slightly sticky dough is not automatically a failed dough.
26. Too much flour makes dough stiff
That can lead to a drier, denser baked texture.
27. Add extra water gradually too
Use one spoonful at a time and knead briefly before reassessing.
28. Good dough begins pulling away from the bowl walls
The bottom may still cling slightly, but the walls should become cleaner.
29. The surface should become smoother
As gluten develops, the dough looks more cohesive.
30. Elasticity matters more than an exact minute count
Different flour and mixer combinations reach the same stage at different times.
31. A stretch test is a practical indicator
Gently stretch a small piece of dough. If it can become thin without tearing immediately, useful structure has developed.
32. Do not pull aggressively during the stretch test
Stretch slowly and gradually.
33. If dough tears immediately
It may need a little more kneading or a short rest.
34. If dough is very stiff
There may be too much flour or too little water.
35. If dough is extremely loose
Water may be high, but allow time for hydration before adding extra flour.
36. High-hydration doughs are naturally stickier
Not every sticky dough needs more flour.
37. If dough climbs the hook
Stop the mixer and lower the dough only after the hook has stopped completely.
38. Keep hands away from a moving hook
Manual adjustment must happen only after complete stop.
39. Stop if the mixer walks across the counter
Excess dough volume, overly stiff dough, or unsuitable speed may be responsible.
40. Severe mixer movement is not something to ignore
Review capacity, speed, and dough consistency.
41. Dough temperature rises during long kneading
Friction generates heat.
42. Warm dough can ferment faster
Adjust the next resting stage to actual dough conditions.
43. Dough can be overkneaded
If a previously elastic dough becomes very warm, slack, and weak, more kneading is not helpful.
44. Stop once the structure is ready
The goal is cohesive elastic dough, not the longest possible mixing time.
45. Remove dough from the bowl
Avoid covering the work surface with excessive flour.
46. Shape into a loose ball
Tuck the outside gently underneath to create a smoother surface.
47. Use a large enough rising container
The dough needs room to expand.
48. Lightly oil the container
A thin film helps prevent sticking.
49. Cover the dough
Covering prevents surface drying and skin formation.
50. Judge the first rise by dough volume
Exact timing depends heavily on yeast amount and room temperature.
51. Doubling is not an absolute rule for every recipe
Some doughs call for more or less expansion.
52. Fermentation is faster in a warm room
Do not follow the clock blindly.
53. Fermentation is slower in a cool room
Allow more time instead of using excessive heat.
54. Cold fermentation can improve pizza flavor
When the recipe calls for it, dough can rest longer in the refrigerator.
55. Cold dough needs time to become workable
Allow it to relax according to the recipe before shaping.
56. Bread and pizza dough are not identical
Water, oil, sugar, fermentation, and shaping can differ.
57. A repeatable workflow
- Measure ingredients accurately.
- Add flour and yeast to the bowl.
- Add most of the water.
- Mix at the lowest speed until a rough dough forms.
- Rest briefly if the recipe allows it.
- Add salt and oil according to the recipe.
- Knead with the dough hook at low speed.
- Adjust water or flour only in small increments.
- Check surface smoothness and elasticity.
- Stop once sufficient structure develops.
- Transfer to a lightly oiled container.
- Cover and rest until the desired rise is reached.
58. Dough troubleshooting table
| Result | Likely cause | Correction |
|---|---|---|
| Dough is too stiff | Too much flour or too little water | Adjust water gradually |
| Dough is too loose | Too much water or incomplete hydration | Rest briefly and reassess |
| Dough tears easily | Insufficient kneading or rest | Knead or rest a little longer |
| Dough becomes very warm | Too much speed or kneading time | Stop and reduce speed next time |
| Mixer moves strongly | Stiff dough, excess volume, or high speed | Stop and review capacity and consistency |
| Dough does not rise | Weak yeast or very cool environment | Check yeast and fermentation conditions |
59. Do not taste raw dough
Raw flour can carry food-safety risks, so dough should be fully baked before eating.
60. The final stand-mixer dough principle
Start slowly, adjust water gradually, and stop when the dough is smooth and elastic. Resting after kneading is part of the recipe and should not be ignored.
Common mistakes
- Exceeding bowl dough capacity
- Using a wire whisk for dough
- Adding all corrective water or flour at once
- Starting at high speed
- Adding excessive flour because of early stickiness
- Kneading long after good elasticity is reached
- Touching a moving dough hook
- Ignoring severe mixer movement
- Leaving dough uncovered during resting
- Tasting raw dough
Conclusion
Good stand-mixer dough comes from control rather than high speed. Measure accurately, bring the dough together slowly, adjust water in small amounts, and knead with the dough hook until the surface becomes smoother and the dough develops useful elasticity. Then cover and rest it, judging the rise from the dough itself rather than the clock alone.
Common mistakes
Change only one variable at a time while diagnosing.
- Do not exceed dough capacity.
- Do not use a wire whisk for heavy dough.
- Do not add all corrective water or flour at once.
- Do not start at high speed.
- Do not add excessive flour because of early stickiness.
- Do not keep kneading long after good elasticity is reached.
- Do not touch a moving dough hook.
- Do not ignore severe mixer movement.
- Do not leave dough uncovered while resting.
- Do not taste raw dough.
Frequently asked questions
Which attachment should I use for bread and pizza dough?
Use the dough hook for heavy dough; a wire whisk is not suitable.
What mixer speed should I use?
Start at the lowest speed and stay in the lower range allowed by the exact mixer manual.
Why is my dough very sticky?
Water may be high or flour may not have fully hydrated; allow a brief rest before adding large amounts of flour.
How do I know kneading is sufficient?
The dough should become smoother and more elastic, and a small piece should stretch thin without tearing immediately.
Why does the mixer move during kneading?
Overly stiff dough, excessive batch size, or excessive speed can cause this and should be corrected.
How long should the dough rest?
It depends on yeast and room temperature; dough expansion is more useful than one fixed clock time.